Industry
How to install flexible stone: the nine steps that decide the finish
A 2-4 mm mineral sheet fails or lasts on the substrate, not the sheet. Nine steps from substrate check to cure, the adhesive line, and the joint detail crews skip.
In brief
- Flat, dry, sound substrate first: a 2-4 mm facing shows every defect underneath it.
- Notched trowel, thin-set for mineral sheets, full coverage on every cut edge.
- Carry the substrate movement joint through the facing; confirm the current series data sheet.
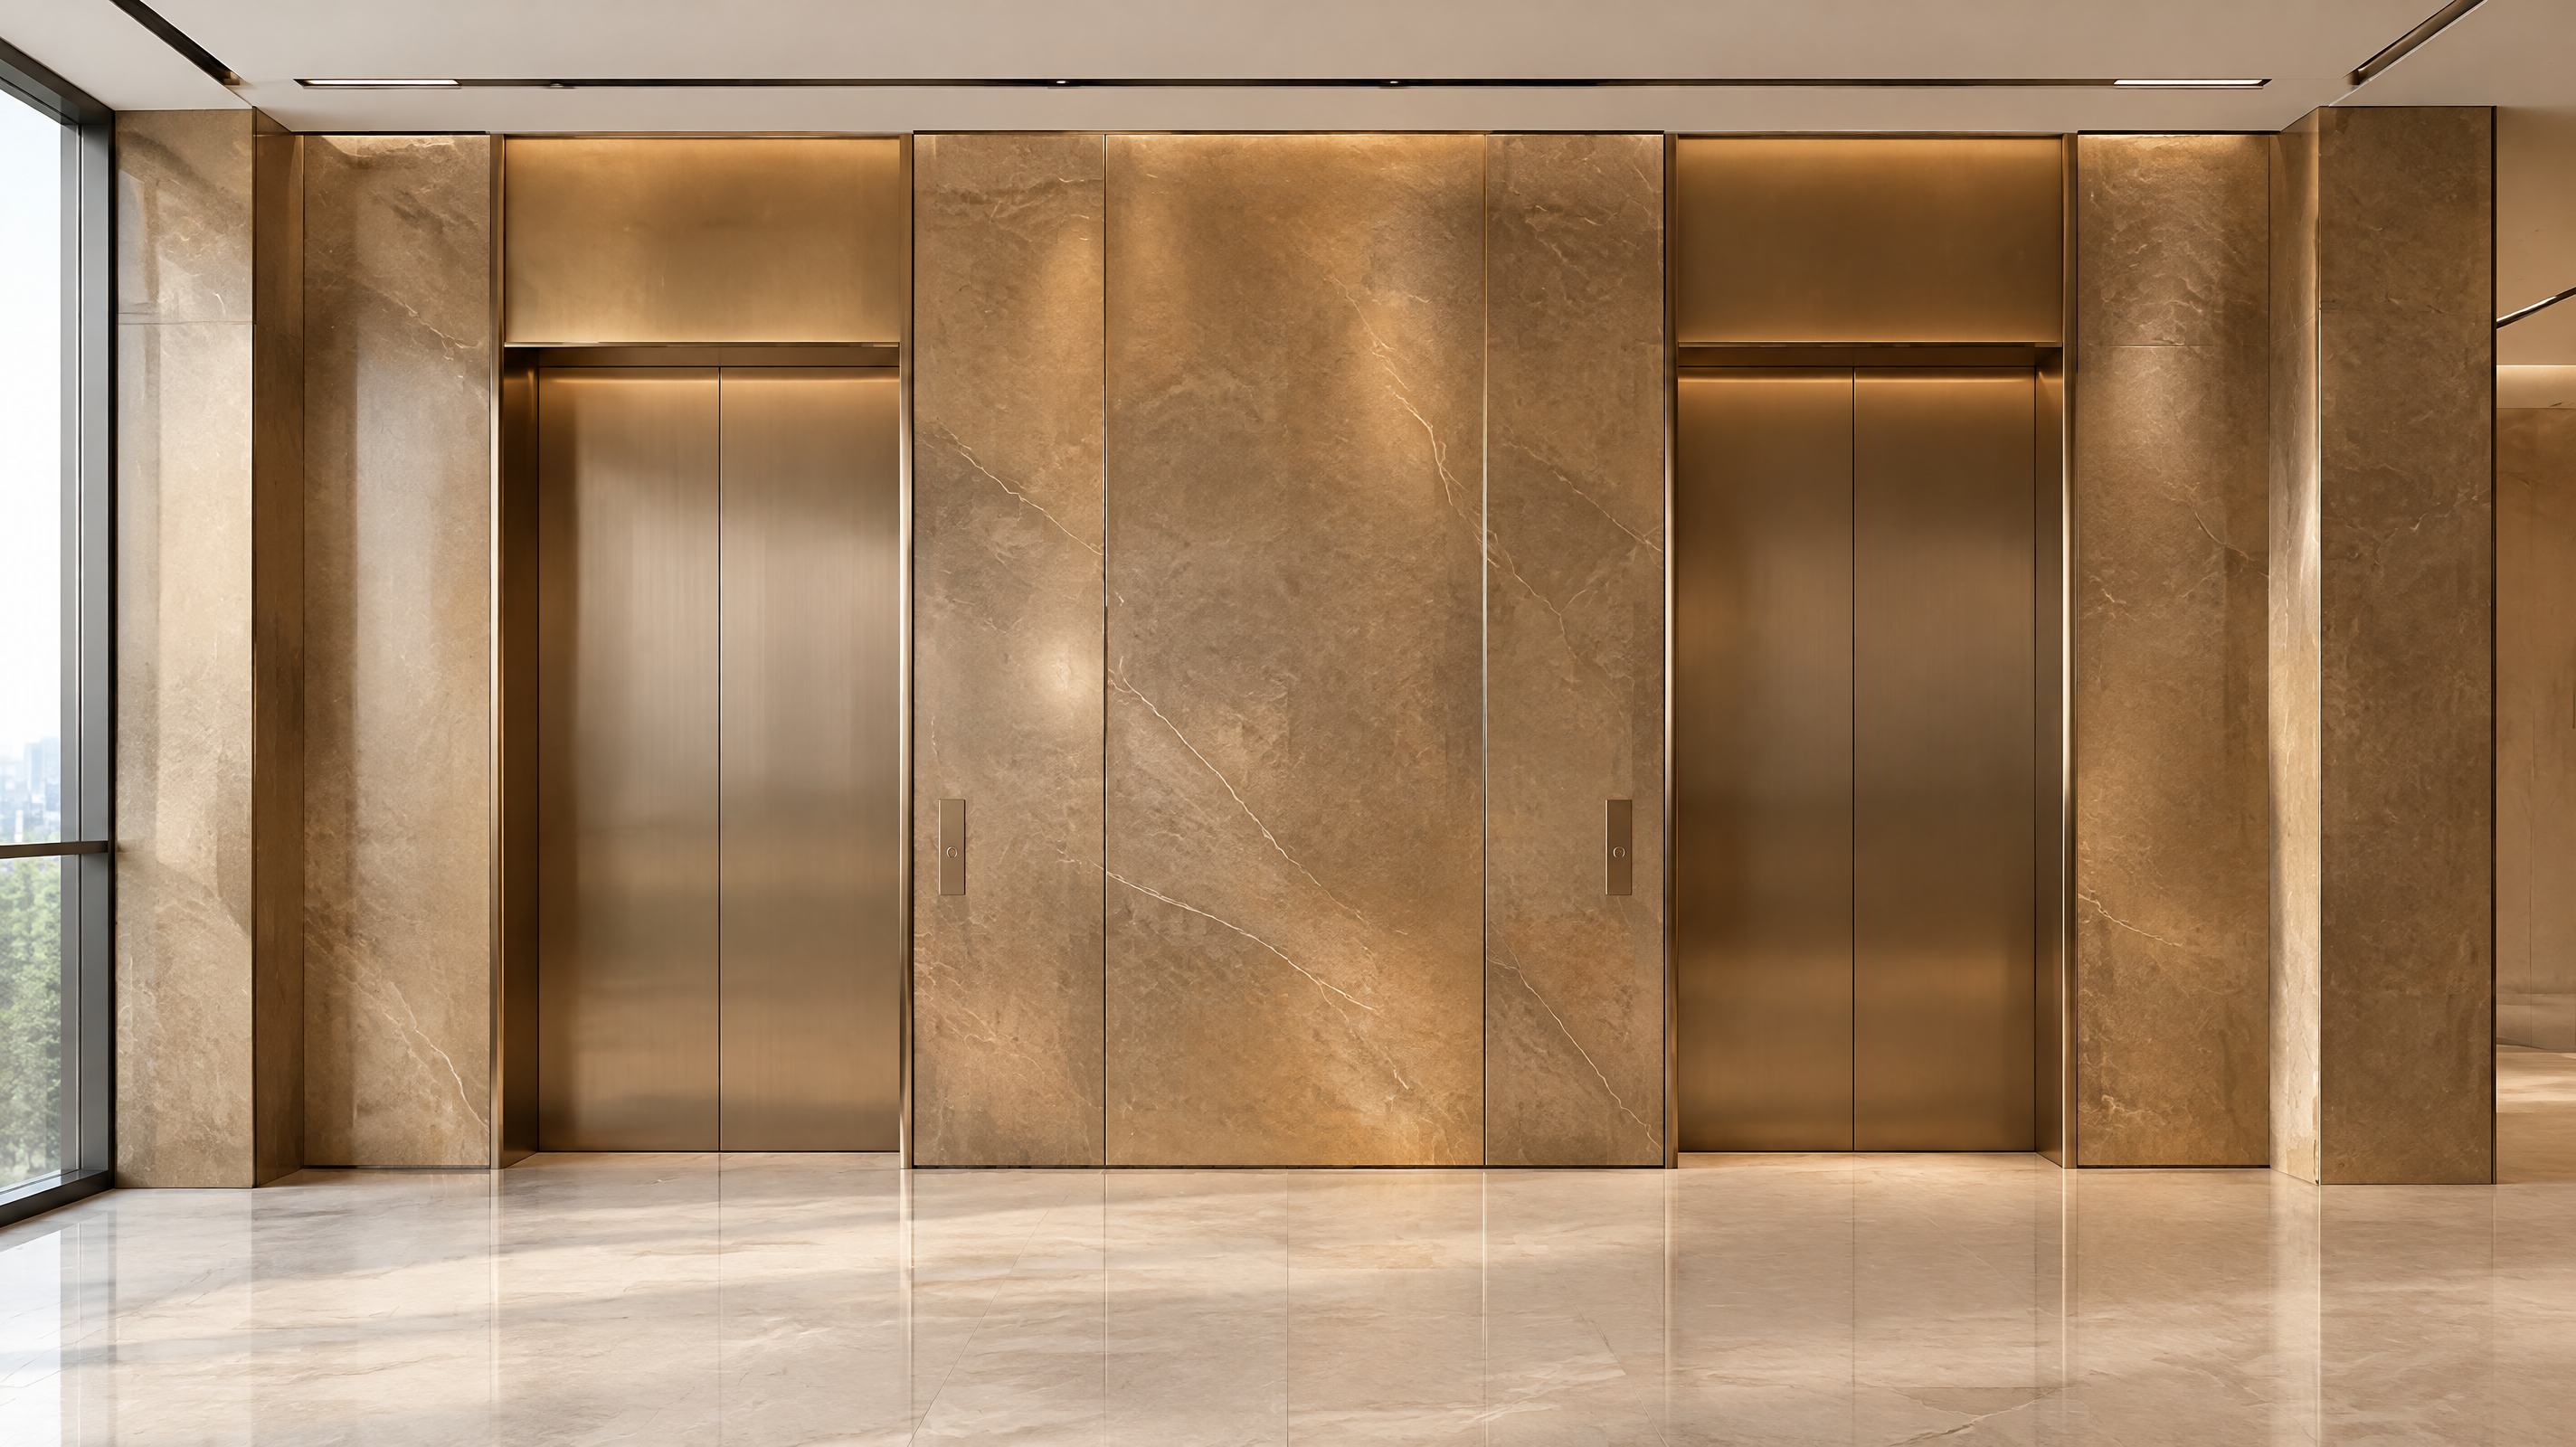
How to install flexible stone comes down to nine steps, and only two of them involve the sheet itself. A 2-4 mm mineral facing is bonded with a thin-set adhesive onto a flat, dry, sound substrate; there is no rail, no anchor, and no demolition of the wall underneath. Everything that later reads as a crack, a hollow spot, or a lifted corner starts before the first sheet is offered up. This guide sets out the sequence used on interior feature walls, lift lobbies, and overlay renovations, with the adhesive line and the joint detail called out separately instead of buried in a general note. Yangphen Stone (Zhongshan, China) ships samples, batch records, and the data sheet as one package, so the crew can match what was specified to what arrives on site.
What the 2-4 mm sheet gives you that tile does not
Flexible stone is a modified mineral sheet, not a fired tile, and the difference shows up in three numbers. Yangphen sheets are 2-4 mm thick and typically 3-8 kg/m², against 10-40 kg/m² for natural stone, so one operative can carry and set a panel that would otherwise need two people and a mechanical handler. Tensile strength exceeds 1.0 MPa and stain resistance reaches Grade 4/3, which is what keeps the face intact through site handling, cleaning, and the occasional trolley. The thin section is also what lets the facing wrap geometry: unlike ceramic tile, the 2-4 mm mineral sheet bends to a radius instead of stopping dead at the corner, so a column or an arch becomes a normal detail rather than a fabrication job. Production is the fourth difference. The sheet is formed at low temperature rather than fired near 1,000 °C, which holds production energy per square metre below a fired ceramic route. Forty looks across stone, timber, cast, and earth families share that same section, and flexible stone cladding is where the range sits.
Where the sheet goes: lobbies, columns, and wet walls
Interior work is where the thin section pays back fastest. A lift lobby, a corridor, or a suite entrance gets a continuous mineral face with no rail, no bracket, and no wet trade closing the floor for days; the bronze-gold lobby in the cover image is the same detail, not a special one. exterior facade cladding is the other half of the work: the sheet faces insulated (ETICS) elevations and renovation overlays without stripping the existing tile, which is what makes it usable on a building that has to stay open. Water absorption stays below 0.1 kg/m²·h⁰·⁵, so a splash zone or a sheltered entrance is a detailing question rather than a material limit. Rounded geometry is the case tile cannot take at all, which is why curved column cladding is worth reading before a corner is drawn. Wall and wet-zone build-ups are set out under interior feature wall cladding.
How to install flexible stone, step by step
How to install flexible stone on site is a sequence problem more than a skill problem, and the sequence is fixed. It assumes a cement-based thin-set for mineral sheets, a trowel that still leaves ridges, and cut edges that receive full coverage. Nine steps, in order:
1. Check the substrate. Flat to the tolerance on the data sheet, dry, and sound; a hollow render or a powdery paint film will telegraph straight through a 2-4 mm facing.
2. Repair and prime. Fill cracks, prime absorbent backgrounds, and let the primer reach its stated open time before any adhesive is mixed.
3. Dry-lay and plan the layout. Set the centre line, balance the cuts at both ends, and keep sheets from a single batch together so the look sequence stays continuous.
4. Mix the adhesive to the stated ratio. A mineral sheet needs full wetting rather than a stiff slurry, and only as much as the pot life allows.
5. Comb with a notched trowel and back-butter the sheet. Full coverage is the rule on every cut edge, because a 2-4 mm sheet has no thickness to hide a void.
6. Offer the sheet up and press from the centre outwards. Work the air toward the edges; a hollow spot that survives the press is still hollow a year later.
7. Set the joints. Carry the movement joint the substrate already has through the facing, and never butt sheets tight into an internal corner.
8. Cut on a board with a sharp blade or shears. The sheet scores and snaps along the line, which is why no wet saw comes to site.
9. Protect the cure. Keep traffic, water, and direct sun off the face for the first 24 hours, then clean residue with a pH-neutral product.
Why specifiers moved to thin mineral skins
The move to thin mineral skins is about mass and programme rather than fashion. A facing at 3-8 kg/m² removes the structural allowance that a 10-40 kg/m² stone build-up carries, and it removes the crane time, the hanging system, and the scaffold week along with it. Overlay work pushes the same decision from the other direction: renovation without demolition keeps a building trading while the wall changes. Durability is where the argument gets settled, because tested behaviour survives a value-engineering review. The numbers asked for first are usually 100 cycles of freeze-thaw and 1,200-3,500 hours of ageing on the mineral sheet. Fire performance is a thickness question on this product: the sheets reach Class A above 3 mm thickness, which is why a 2-4 mm specification and a 4 mm specification are not interchangeable, and why the report has to travel with the batch. Sustainability answers run the same way, on recycled mineral content and low-temperature forming rather than a slogan.
What to confirm before the crew starts
Adhesive type, joint layout, and fire class follow the series, not the category, and the same is true of colour match between batches. How to install flexible stone correctly is therefore documented per series rather than per product family. Ask for samples and the batch record together, then confirm the current series data sheet before the specification is locked. If the wall is insulated, or the substrate is anything other than render or board, send the build-up over first: request samples and the samples, batch records, and data sheets ship as one package.
See the look board, or request a sample and the current data sheet.
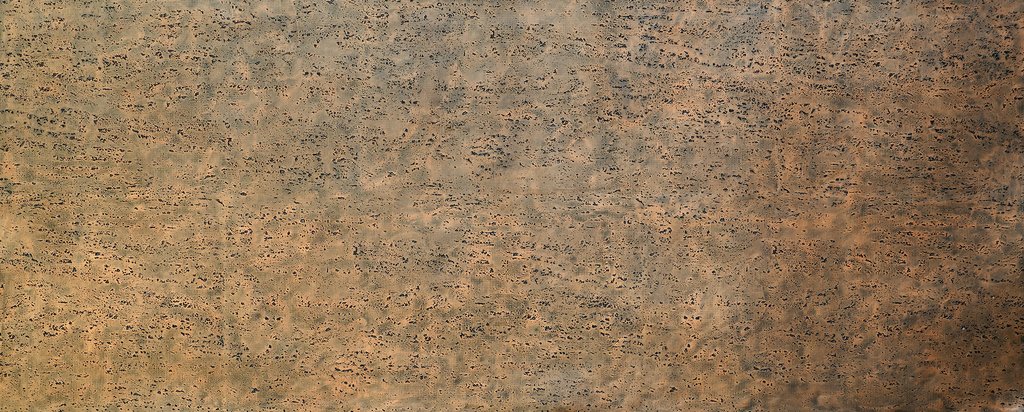 Specify this look · Travertine Bronze Gold
 Specify this look · Cement Panel
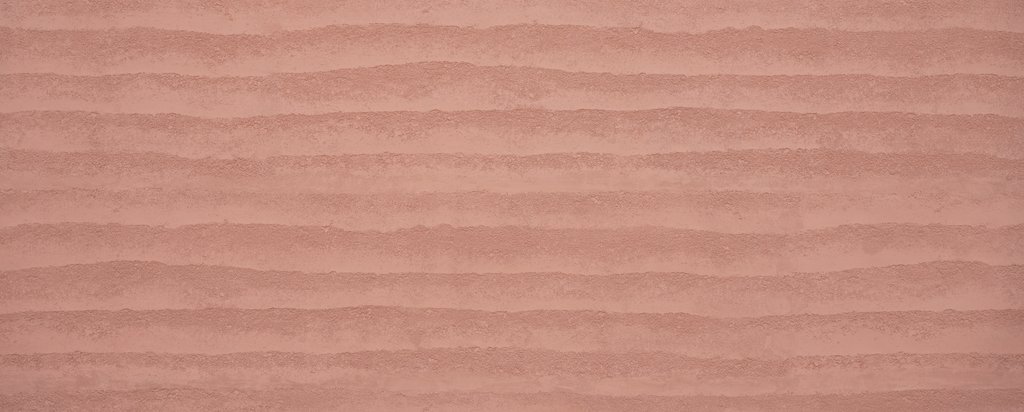 Specify this look · Rammed Earth
Specifying a wall? Ask for the current data sheet and a sample of the look.